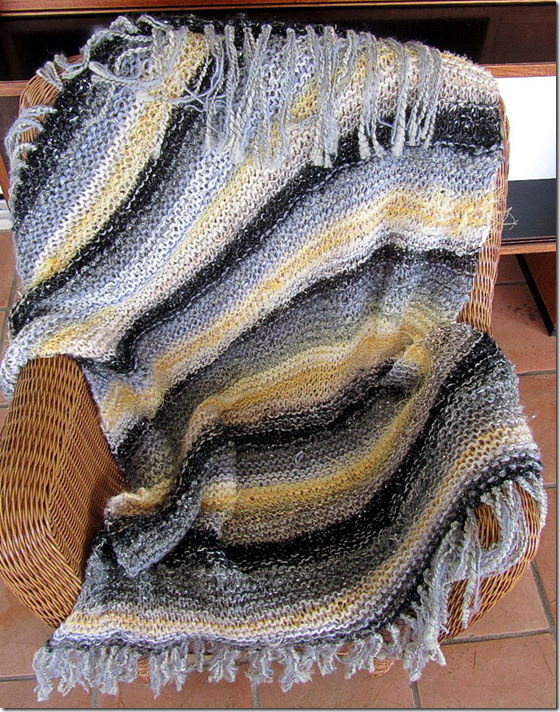
I wanted to be sure I was pleased with the colors and the order I used them when I made our king size bed quilt.
I cut narrow strips of each fabric which I had backed with a fusible.
I arranged them on a piece of graph paper and fused them in place.
I added an additional layer of fusible to the back of this and cut and moved them to get the design.
This showed 1/4 of the quilt.

I wanted to see how the entire quilt would look so I made this to view it.
I made this viewing device from two 12 inch mirror tiles.
I taped the edges of each with clear tape so prevent cutting myself on sharp edges.
I then joined the two tiles with a piece of duct tape.
You are seeing the back of the device in this picture.

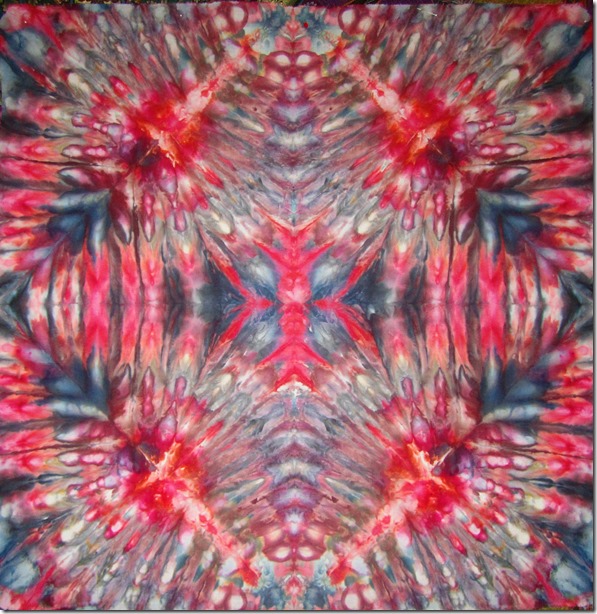
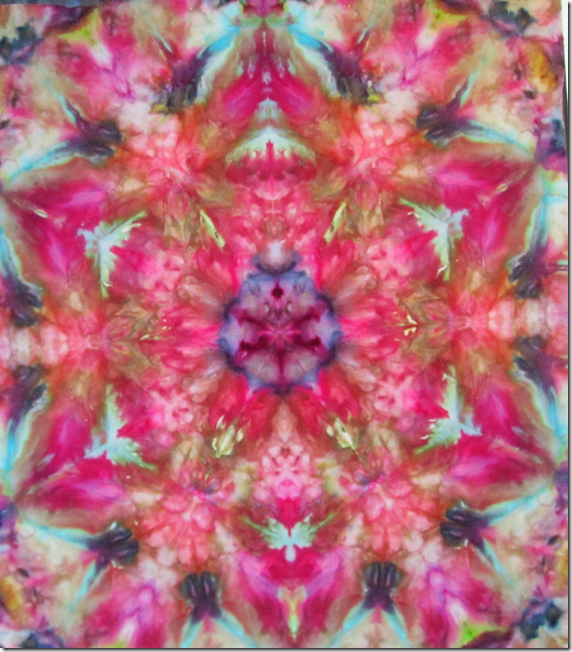
By placing the mirrors on the corner I can see the way the finished design will work if I use this as the center.

This is what it would look like if I used the opposite corner as the center.
I felt very confidant going ahead cutting all the strips to make the quilt after seeing what the quilt would look like.

This is the finished quilt on our bed.
I realize you can buy mirrors to use to do this, but they are very limited in size. For the cost of a set of those you can make several of these sets and I am sure your friends would be happy to get a set you made.
Not only can they be used to test how quilt design will work, but they are also handy when designing blocks for a quilt.
By opening them at a 60 degree angle, rather than the 90 degree angle I used here you can also see other possibilities when you are designing.







![[image%255B9%255D.png]](https://blogger.googleusercontent.com/img/b/R29vZ2xl/AVvXsEgEZq9n2pH1rmSHePTw1WDH-oP87U_3PnUxit6HDIu0r7pdPUtKUDbsl5gIkUgAZmg_g3WGyjRoCHfdZYTFOazdt5MmQ2qhnY3JQmku80DY01qaiJZ6tp698tPeYUDEz7eNq8zbgf8UFq4/s1600/image%25255B9%25255D.png)