For the first lesson we will need these supplies:
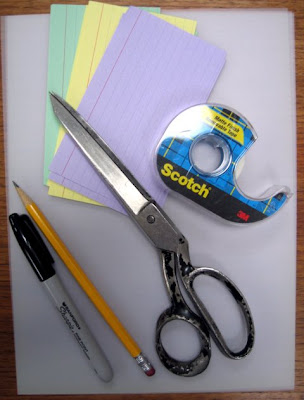
Package of lined 3 x 5 index cards (or you can use 4 x 6 cards)
Removable Scotch Tape (Blue Plaid dispenser)
Pencil
Paper scissors
Black permanent felt tip marker
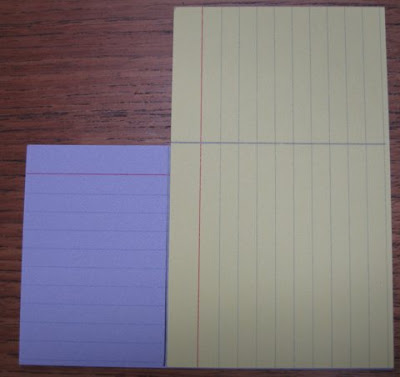
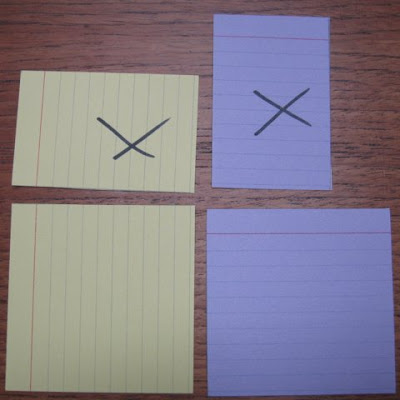
1. Prepare several index cards by cutting off a section so you have a square.
2. With felt tip marker put a dot in each corner of the cards.
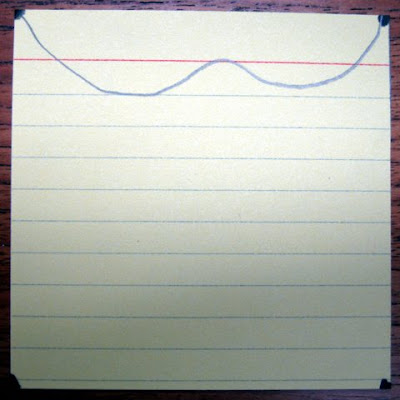
3. Using a pencil draw a line from one corner to the other across a card. (This means the direction the lines on your cards go.)
A. This line can be angled or curved.
B. Do not go beyond the corner.
C. You may stop before you get to the corner but I find the resulting tessellating shapes are more interesting if you draw corner to corner.
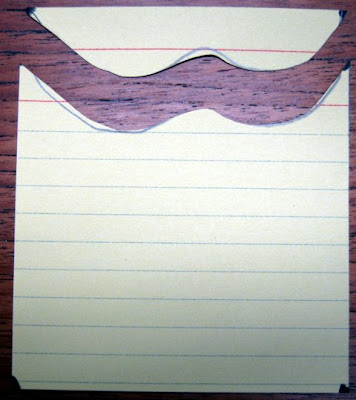
4. Cut along the line you have just drawn with your paper scissors.
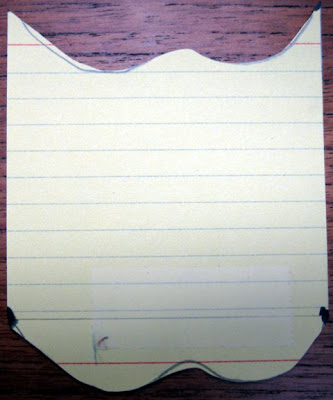
5. Move that section to the opposite edge and tape it in place with your removable tape. Be sure the corners line up before taping. Be sure and keep the lines side of your card up.
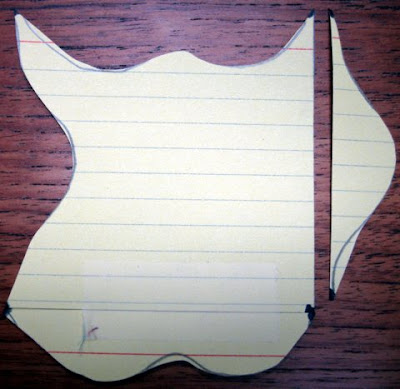
6. Draw a line on the vertical edge of your square. Choose a different shape for this line.
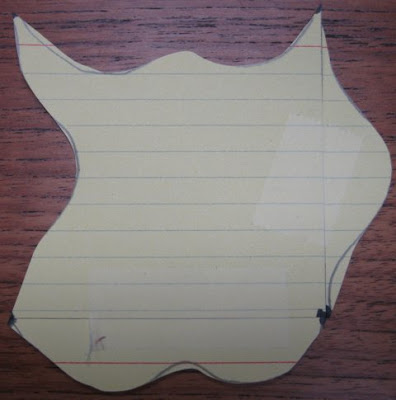
7. Cut along this line and move it to the opposite edge and tape in place, being sure corners and lines on card match.
8. You now have a shape that will tessellate.
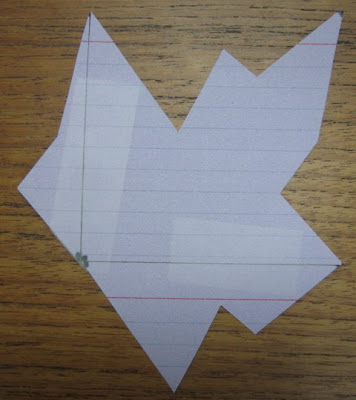
9. Get another card and repeat with different lines.
10. After you have done this a few times you will find you don't have to draw the lines. You can just freehand cut with your scissors. I find people are less inhibited when you cut directly without drawing first and get some of your most interesting shapes this way.
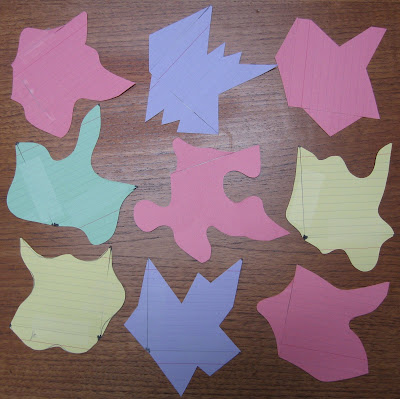
11. Keep you supplies handy and continue making shapes any time you have a spare moment. Some will be more interesting than others.
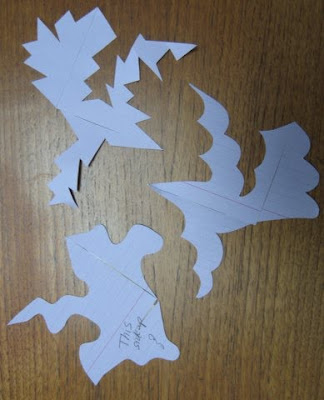
12. Do NOT try to make a shape that suggests a specific thing. Let whatever happens happen. Often a shape will make you think of a particular thing. It is not necessary that your shape resemble anything for this project.
If you were doing a pieced quilt many of these shapes would be next to impossible to piece.
Since we are doing a fused quilt we have many choices for shapes we can use.
Just have fun and create as many different shapes as you can. In the next lesson you will learn how to choose a shape to use in your quilt.
5 comments:
Hi Kay, thank you for this tutorial,
I love your tesselation and I'm really happy you will share your knowledge!
Thank you!
OK, I'm intriqued! Can't wait to see the next part!!
What a great tutorial - I didn't realise it was so easy to draw the shapes. Thank you so much for sharing. Can't wait for the next part.
Thank you for the tutorial Kay; this is fun!
Thanks for all the photos and directions. I noticed how the shapes changed the more confident I got with cutting. Looking forward to next part too.
Post a Comment